Saying yes to solar is the big decision. What tends to worry people next is everything that comes after it. Will there be mountains of government paperwork? Will the house be a building site for weeks? Do you need to understand the technical side to keep it all on track? The honest answer is that the process is far simpler than most homeowners expect, mainly because a good installer handles the complicated parts for you. Here is exactly what happens from the moment you decide to go ahead, laid out step by step so there are no surprises.
Step one: site assessment and system design
Everything starts with a proper look at your home. Our team visits to inspect the roof, checking its angle, the space available and any shading through the day. We review your recent TNB bills and your usage pattern so we understand how much power you really get through. From there we design a system that fits your home rather than a one-size-fits-all package. You then get to see the proposed layout, an estimate of your savings, and the panel and inverter options, all before you commit to anything. There is no guesswork, and nothing is hidden.
Step two: the Solar ATAP and TNB paperwork
This is the part people dread most, and it is the part you barely have to touch. Once you approve the proposal, we take care of the applications on your behalf. That means lodging your Solar ATAP application, handling the SEDA registration, and working through TNB's technical approval process. You do not need to fill in government forms or chase departments yourself. We manage the process end to end and keep you updated as it moves along. If you are also claiming the rebate, we guide that too, and you can see the steps in our guide on how to claim the SuRIA Home rebate.
Step three: installation, usually within one to two days
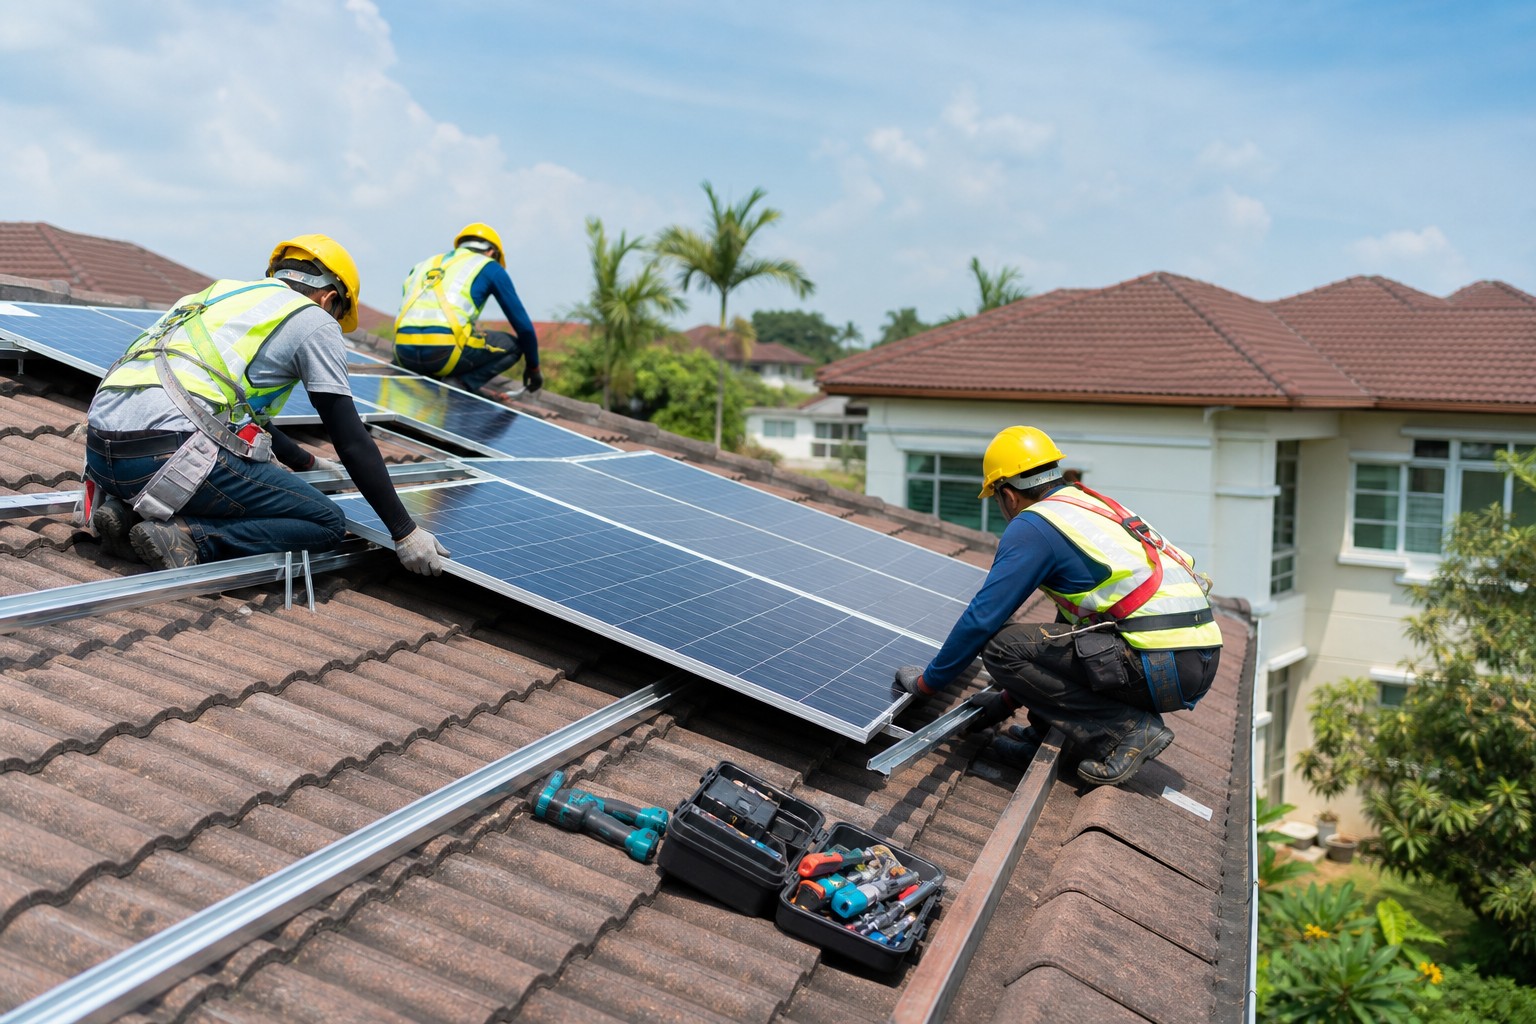
When the approvals are in place, the physical installation itself is quick. For most homes it is completed within one to two days. Our crew mounts the panels on your roof, installs the inverter and wiring, and fits the safety switch and monitoring equipment. Throughout the job we keep your home safe and tidy, and once everything is in place we test the full system before we hand it over to you. It is a clean, professional process rather than the drawn-out disruption people imagine. For a closer look at what the days on site actually feel like, our article on what to expect during installation walks through it in more detail.
Step four: activation and the start of your savings
The final step is switch-on. Once TNB gives the green light, your system goes live, and from that day your home starts running on its own solar power during daylight hours. Any surplus you generate is exported to the grid for credit under Solar ATAP, which offsets the electricity you draw at night. Your monthly TNB bill then starts to reflect the change, showing you the savings in black and white. From this point on you are, quite simply, a solar-powered household.
That really is all there is to it
There are no hidden steps and no technical confusion waiting to catch you out. You approve a design, we handle the paperwork and the install, and you start enjoying lower bills and clean energy for decades to come. If you would like a fuller overview of the journey and the support that comes with it, our page on how it works pulls the whole thing together. And whenever you are ready to begin, the first move is a free site assessment, which tells you exactly what your home can do before you commit to anything at all.